We may earn money or products from the companies mentioned in this post.
Prepping the Helmet for Paint
Ay, listen up, amigos! Before we can start adding some pizzazz to our helmet, we gotta get it ready. It’s like washing your hands before dinner – you wouldn’t want any gunk getting in your grub! So here’s what we’re gonna do:
First things first: Getting the helmet ready (like washing your hands before dinner)
We don’t wanna dive straight into painting without preppin’ our helmet properly. That would be like trying to ride a bike with no wheels – not gonna work out too well! We’ll make sure it’s all squeaky clean and free from any dirt or grease. No one likes a messy canvas!
Taking off all the extra parts (no one wants a painted face mask!)
This step is super important, my friends. Just imagine if we left on those fancy face masks while painting – they’d end up lookin’ more like Picasso masterpieces than cool helmets! So let’s pop ’em off and set them aside safely until later.
Sanding it down smooth as glass (or like that shiny rock you found at the beach)
To make sure our paint job turns out top-notch, we gotta give our helmet a nice sanding session. Think of it like smoothing out rough edges – just like how you polish that awesome rock you found by the shore till it shines bright as day.
Cleaning off any dust bunnies and using special tape to cover up spots we don’t want painted
No room for dusty surprises here! We’ll wipe away any sneaky dust bunnies clinging onto our helmet so they don’t spoil our masterpiece-in-progress. And hey, remember that cool art lesson where we used tape to create designs? We’ll use that same trick here, covering up areas we don’t want painted. It’s like creating secret layers of awesomeness!
Alrighty, amigos! Our helmet is prepped and ready for some serious paint action. Get your creative juices flowin’ ’cause the next step is gonna be a blast!
The Base Coat: Laying Down Some Color!
Hey there, my fellow mini Picasso! It’s time to get our creative juices flowing and give that blank canvas a pop of color. But hold your horses, we gotta start with the base coat first. Choosing the right color is like picking out the perfect outfit for a party – you want something that stands out but still makes everyone go “wow!” And let me tell ya, teal is always a winner in my book.
Now grab your trusty spray gun because we’re about to make some magic happen! Just imagine yourself as a graffiti artist on the streets of Wynwood, creating vibrant masterpieces on towering walls. With smooth strokes and an even hand, we’ll lay down that paint like it’s nobody’s business.
After giving our artwork its first layer of awesomeness, it’s time to let it dry under the scorching Miami sun (but don’t forget sunscreen or else you’ll end up looking like a lobster!). Picture yourself chilling at South Beach – toes buried in warm sand while listening to waves crashing against colorful lifeguard towers. Now that’s what I call paradise!
All good artists have an eye for detail, so once our masterpiece has dried off nicely, we need to inspect it closely for any pesky spots that need touch-ups. It’s kind of like finding Waldo amidst all those funky patterns; sometimes things just hide from us! So keep sharp eyes and fix anything amiss before moving onto the next step.
Adding Designs: Where the Magic Happens
Alright, buckle up kiddos because we are about to dive into the world of adding designs to our masterpieces! It’s like trying to decide between eating ice cream or snow cones – a tough choice, but oh so delicious. So, let’s get started!
To Stencil or Not to Stencil?
When it comes to adding designs, one big decision is whether to use stencils or go all out with freehand drawing. It’s like choosing between following a recipe step by step or creating your own culinary masterpiece from scratch. Both have their pros and cons.
If you want precise lines and perfect shapes (like those symmetrical palm trees we see all over Miami), then stencils might be your best bet. But if you’re feeling adventurous and want that extra touch of personal flair (just like dancing salsa without any lessons), then grab that paintbrush and start freestyling!
Miami Flavor: Local Artists Unite!
We Miamians love our city more than anything – from the beautiful beaches to vibrant street art on Wynwood Walls. And when it comes to adding designs, who better than local artists themselves? They bring that unique Miami flavor straight onto our canvases.
Picture this: Your mural featuring funky flamingos wearing sunglasses while sipping cafecito under neon-colored palm trees – now THAT screams Miami! By collaborating with local artists, we can infuse our artwork with an authentic taste of home (like biting into a juicy mango picked fresh from someone’s backyard).
Pinstripes, Logos & More – Oh My!
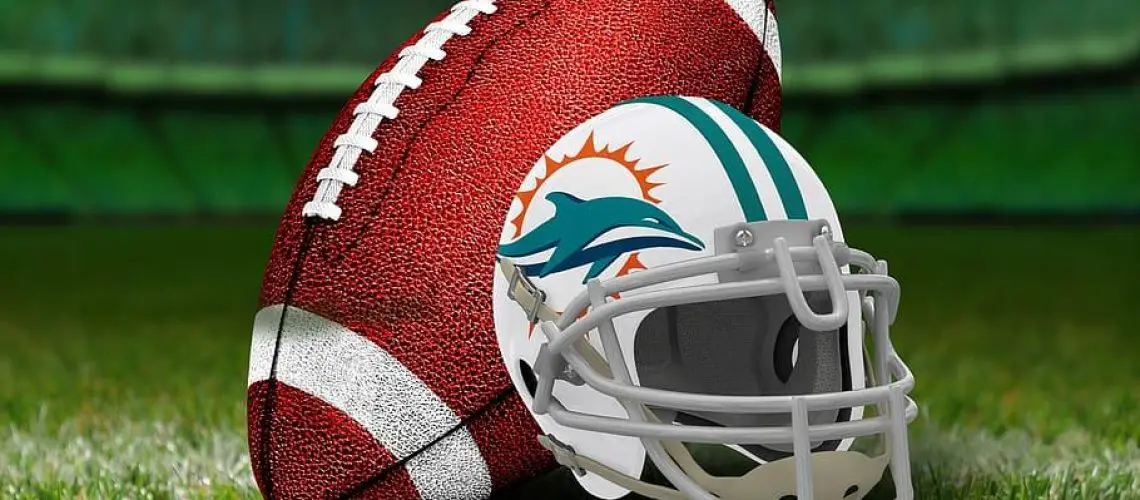
Nowadays, there are no limits when it comes to design options for your artwork in Miami. We’ve got pinstripes that make your mural look sleek and sophisticated, just like those fancy cars cruising down Ocean Drive. Or if you’re a sports fan, why not add your favorite team’s logo to show off some major hometown pride?
But wait, there’s more! From vibrant murals bursting with color to minimalist designs that speak volumes in their simplicity – the choice is yours. It’s like being handed a buffet menu (with all-you-can-eat ice cream sundaes) and having the freedom to pick whatever tickles your taste buds.
A Steady Hand and Some Patience
As much as we’d love for our designs to magically appear on our canvases, it takes a steady hand and lots of patience. Just like when you’re trying to catch lizards at Matheson Hammock Park – slow movements are key!
We can’t forget about masking tape either; it acts as our trusty sidekick during this design adventure. By carefully taping off sections or creating crisp edges, we ensure that everything stays neat and tidy (because nobody likes messy artwork).
Now go forth my artistic amigos! Let these design ideas inspire you as you create masterpieces full of Miami spirit! Remember: stencils or freehand? Local artists or DIY? Pinstripes or logos? The choices are endless in this colorful world of artistry.
.4. Finishing Touches: Seal It Up Like Grandma’s Tupperware
Ay, it’s time to put the cherry on top of our helmet masterpiece! Just like when your grandma seals up her leftovers in those trusty Tupperware containers, we gotta make sure this baby is protected from any scratches and dings.
A few more layers for good measure (because you can never be too careful)
We’re not done just yet, my friend. We need to add a clear coat to give our design that extra layer of protection. Think of it as slathering on sunscreen at the beach – you wanna shield your skin from harmful rays, right? Well, this clear coat will do the same for our helmet artwork!
Let’s slap on a couple more layers while we’re at it because hey, better safe than sorry! You know how sometimes people say “you can’t have too much of a good thing”? Well, that definitely applies here. So let’s keep adding those coats until we feel confident that no harm will come to our hard work.
It’s the waiting game: letting it dry before re-assembling the helmet
All right now kiddo, patience is key here. After all those coats are applied with precision and care (just like LeBron sinking threes), we gotta give them some time to dry out properly.
- No peeking or poking allowed during this drying period – hands off!
- You might be tempted to rush things along by using a hairdryer or something funky like that but resist temptation- remember slow and steady wins the race!
The grand reveal: showing off your team’s new look on the field!
Drumroll, please! It’s finally time to unveil our masterpiece. Once that clear coat is dry and ready for action like DJ Khaled dropping beats, we can re-assemble the helmet and get ready to show off our team’s fierce new look on the field!
Picture this: you strut onto the pitch, your teammates by your side, wearing helmets that are not only protective but also bursting with style. Your opponents won’t know what hit ’em! They’ll be left speechless as they gaze upon your epic design skills.
Remember kiddo, it’s all about sealing up that helmet tight like Grandma seals her leftovers in Tupperware containers. With a touch of creativity and some good old-fashioned patience, you’ll have a headgear masterpiece worthy of Miami pride!


